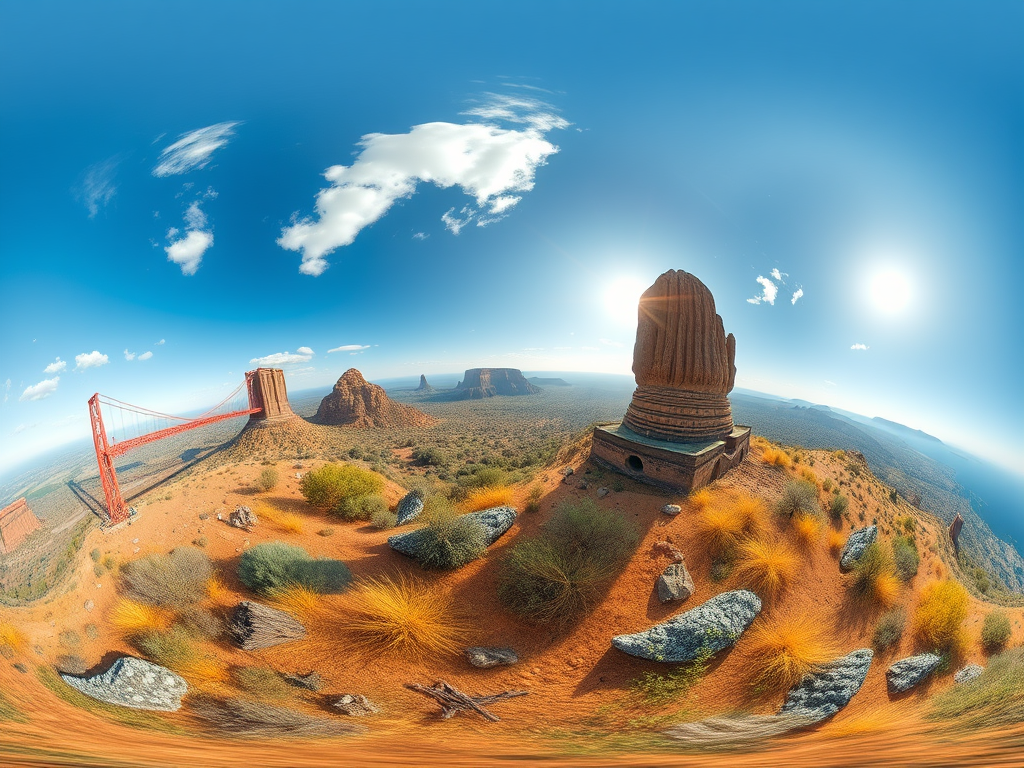
While the concept of equirectangular images is mathematical, in engineering and visualization projects the challenge is how to actually create, validate, and deploy them. Below is a structured workflow.
Creating and Validating an Equirectangular 360° JPG/PNG
While the concept of equirectangular images is mathematical, in engineering and visualization projects the challenge is how to actually create, validate, and deploy them. Below is a structured workflow.
Step 1 – Capture the Environment
- Using a 360° Camera
- Devices such as Ricoh Theta, Insta360, or GoPro Max capture dual fisheye images.
- Each fisheye covers ~180°; the camera’s firmware later merges them into a single panorama.
- Using a DSLR with Fisheye Lens
- Multiple overlapping shots are taken by rotating the camera on a panoramic head.
- This method is used in professional survey documentation and photogrammetry.
Step 2 – Stitching into Equirectangular Projection
- Camera software: Most consumer 360° cameras automatically output stitched JPG/PNG in 2:1 ratio.
- Professional tools:
- PTGui
- [Kolor Autopano (discontinued but still used in industry archives)]
- Open-source alternatives like Hugin
The output must respect the 2:1 aspect ratio, otherwise VR players won’t interpret it correctly.
Step 3 – Embedding Metadata
360° platforms (YouTube, Facebook, engineering viewers) rely on metadata:
- XMP Spherical Metadata: Identifies the file as a 360° panorama.
- Tools:
- ExifTool (command-line) → allows inserting
ProjectionType=equirectangular. - Google’s Spatial Media Metadata Injector → used before uploading to platforms.
- ExifTool (command-line) → allows inserting
Without this step, the image may appear as a flat panorama instead of interactive.
Step 4 – Choosing Format: JPG vs PNG
- JPG:
- Smaller file size, easier for web and mobile.
- May introduce compression artifacts at high zoom in VR.
- PNG:
- Lossless, supports alpha channel (useful for overlays, masks).
- Heavier; recommended when reprocessing multiple times in CAD/VR pipelines.
Step 5 – Validation in a 360° Viewer
To ensure the image is correct:
- Local Validation
- Open with a viewer like FSPViewer or Panellum (WebGL).
- In engineering contexts, integration into Unity or Unreal Engine confirms real-time mapping.
- Online Validation
- Upload to a platform that supports 360° (YouTube, Matterport, SharePoint SPFx web parts).
- Check for seam alignment, pole distortion, and metadata recognition.
Step 6 – Integration into Engineering Workflows
- Digital Twin Platforms
- Use equirectangular 360° images as environmental backdrops aligned with CAD or LiDAR models.
- Many platforms (Bentley iTwin, Dassault ENOVIA) allow hybrid visualization.
- Web Deployment
- Open-source libraries like Panellum or A-Frame make it possible to integrate 360° JPG/PNG directly in browsers.
- In SharePoint, a custom SPFx web part can be used to load the 360° image into a canvas for immersive navigation.
- Validation in Engineering Reports
- Export a reduced version for documentation (e.g., 2000×1000 px JPG).
- Keep the full-resolution master (e.g., 8000×4000 PNG) archived for precise inspections.
Step 7 – Quality Control
- Check resolution: at least 4096×2048 px for professional use.
- Inspect stitching: look for ghosting at seams.
- Verify metadata: test in multiple players.
- Compression balance: optimize JPG with
85–90% qualityfor web.
Summary Table
| Step | Action | Tools / Formats | Engineering Relevance |
|---|---|---|---|
| 1. Capture | Use 360° camera or DSLR+fisheye | Ricoh Theta, Insta360, GoPro Max | Site documentation |
| 2. Stitching | Convert fisheye to equirectangular | PTGui, Hugin, camera firmware | Generates correct 2:1 image |
| 3. Metadata | Embed spherical tags | ExifTool, Spatial Media Injector | Enables VR recognition |
| 4. Format | Choose JPG (compressed) or PNG (lossless) | JPG, PNG | Balance between size & quality |
| 5. Validation | Test in 360° viewer | Panellum, FSPViewer, Unity | Ensure compatibility |
| 6. Integration | Use in digital twins, web apps | A-Frame, SharePoint SPFx, Unity | Immersive engineering workflows |
| 7. QC | Resolution, stitching, compression check | 4096×2048+ recommended | Guarantees usability |
This complete workflow ensures that an equirectangular 360° JPG/PNG moves reliably from capture to engineering visualization without loss of integrity.
