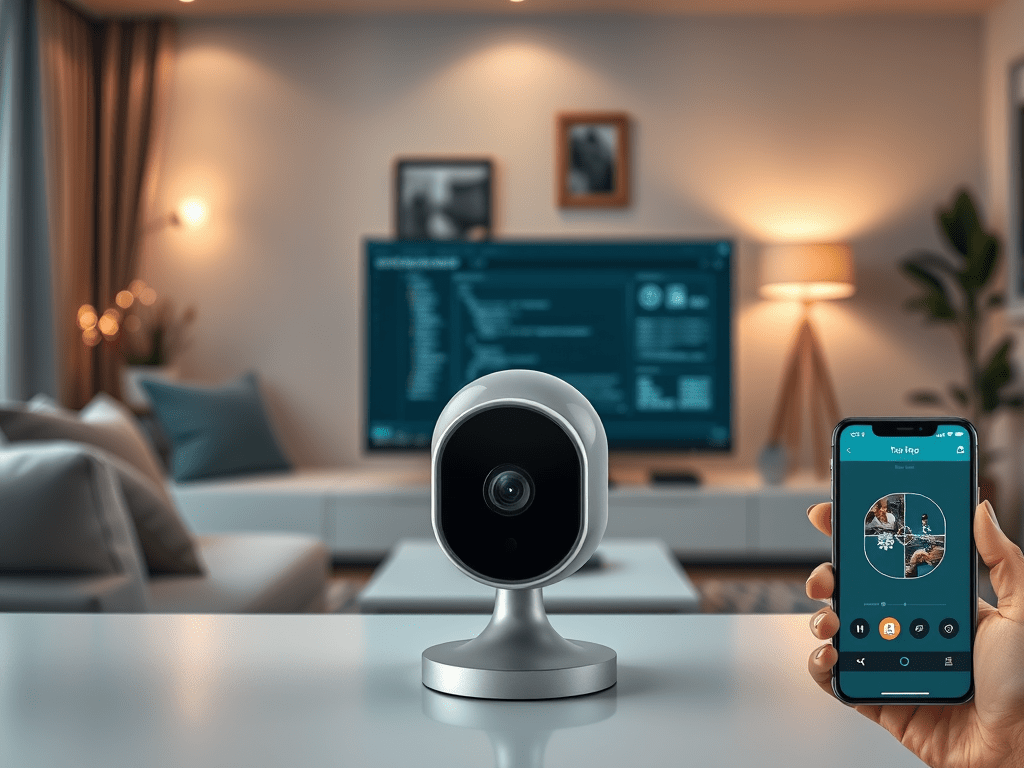
Network cameras such as the TP-Link Tapo C40 are increasingly used for home surveillance, IoT integration, and edge AI processing. While the Tapo ecosystem provides a cloud-based mobile app, professionals and system integrators often need direct access to the video stream using the RTSP (Real Time Streaming Protocol). This enables integration with NVRs, analytics systems, and open-source projects like Home Assistant and FFmpeg.
Accessing the TP-Link Tapo C40 Camera via RTSP with Authentication
Network cameras such as the TP-Link Tapo C40 are increasingly used for home surveillance, IoT integration, and edge AI processing. While the Tapo ecosystem provides a cloud-based mobile app, professionals and system integrators often need direct access to the video stream using the RTSP (Real Time Streaming Protocol). This enables integration with NVRs, analytics systems, and open-source projects like Home Assistant and FFmpeg.
This article explains how to enable RTSP on the Tapo C40, configure authentication, and access the live stream using standard RTSP URLs.
1. Enabling RTSP on the Tapo C40
By default, RTSP is disabled for security reasons. To activate:
- Open the Tapo app on your mobile device.
- Go to Camera Settings > Advanced Settings > Video Stream/NVR (RTSP).
- Enable the RTSP/ONVIF option.
- Define a username and password. These credentials are specific to RTSP and not linked to your TP-Link cloud account.
Once enabled, the camera will listen for RTSP requests on port 554.
2. RTSP Stream URLs
The Tapo C40 exposes multiple streams. Each is accessed with the username and password you configured.
- Primary stream (high quality):
rtsp://<USER>:<PASSWORD>@<CAMERA_IP>:554/stream1 - Secondary stream (lower resolution):
rtsp://<USER>:<PASSWORD>@<CAMERA_IP>:554/stream2 - Audio-only stream:
rtsp://<USER>:<PASSWORD>@<CAMERA_IP>:554/stream3
Replace <USER>, <PASSWORD>, and <CAMERA_IP> with the actual values. Example:
rtsp://admin:mysecurepass@192.168.1.105:554/stream1
3. Discovering the Camera IP
The camera’s local IP can be found:
- In your router’s DHCP lease table, or
- Inside the Tapo app under Device Info > IP Address.
Ensure the device running the RTSP client is on the same LAN or has proper routing/firewall rules configured.
4. Testing with VLC
One of the simplest ways to validate the RTSP stream is with VLC Media Player:
- Open Media > Open Network Stream.
- Paste the RTSP URL including credentials.
- Click Play to view the live feed.
If credentials or IP are incorrect, VLC will prompt for authentication or fail to connect.
5. Integration Scenarios
Once RTSP access is confirmed, the Tapo C40 stream can be integrated into various systems:
- Home Assistant: via
camera: platform: genericwith RTSP URL. - Blue Iris / iSpy / ZoneMinder: as an IP camera with RTSP authentication.
- FFmpeg / OpenCV: for custom processing, recording, or AI-based analytics.
- NVRs and VMS platforms: that support ONVIF/RTSP.
This allows the camera to function beyond the vendor app, suitable for enterprise or smart home automation scenarios.
6. Security Considerations
- Always use strong credentials for RTSP.
- Place cameras on a segmented VLAN if possible.
- Avoid exposing RTSP streams directly to the internet without a secure proxy (VPN or RTSP-over-TLS).
Summary Table
| Step / Element | Details |
|---|---|
| Enable RTSP | Tapo App → Camera Settings → Advanced → Video Stream (RTSP/ONVIF) |
| Define Credentials | Separate username/password (not TP-Link account) |
| RTSP Port | Default: 554 |
| Main Stream | rtsp://<USER>:<PASS>@<IP>:554/stream1 |
| Sub Stream | rtsp://<USER>:<PASS>@<IP>:554/stream2 |
| Audio Stream | rtsp://<USER>:<PASS>@<IP>:554/stream3 |
| Test with VLC | Media → Open Network Stream → Paste RTSP URL |
| Integration Options | Home Assistant, FFmpeg, Blue Iris, ZoneMinder, NVRs |
| Security Best Practice | Strong password, VLAN isolation, avoid direct WAN exposure |
References
Quer que eu faça também uma versão expandida com código de exemplo em Python (OpenCV) para abrir o fluxo RTSP e exibir a imagem no artigo? Isso pode enriquecer bastante o conteúdo técnico do blog.
